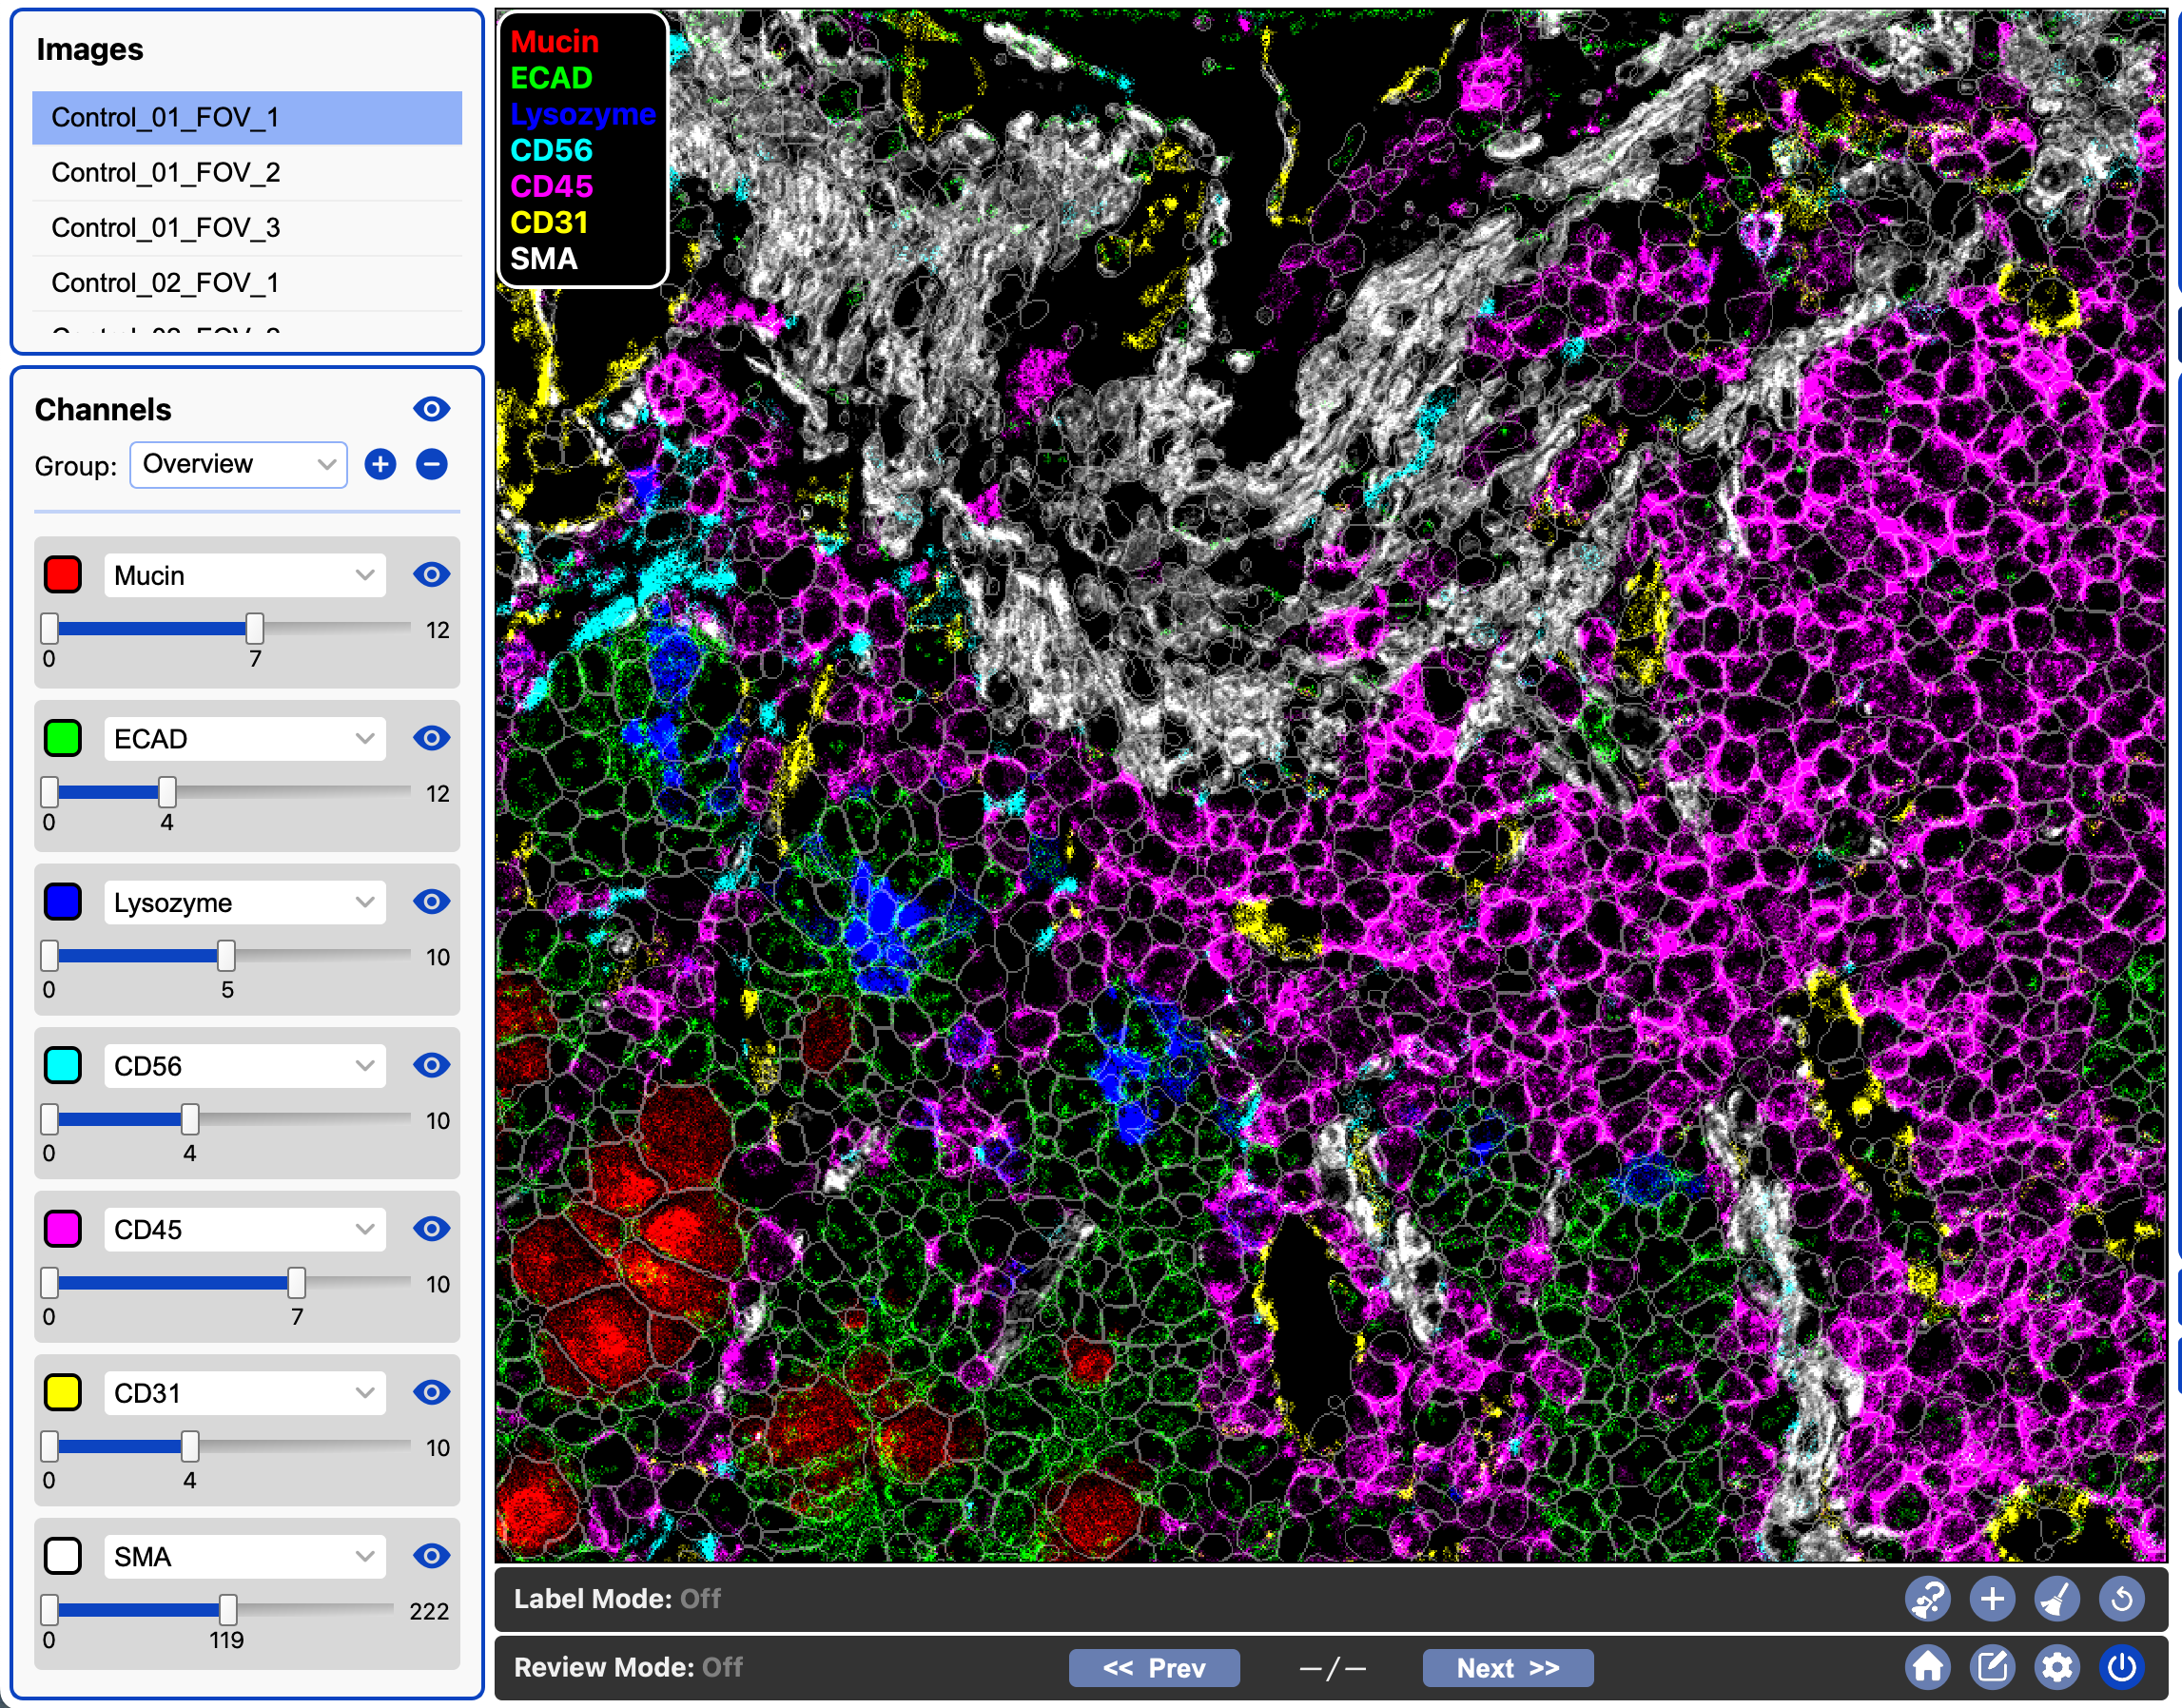
Viewer Interface
Once project setup completes, the main CellTune interface will load with your first image displayed:
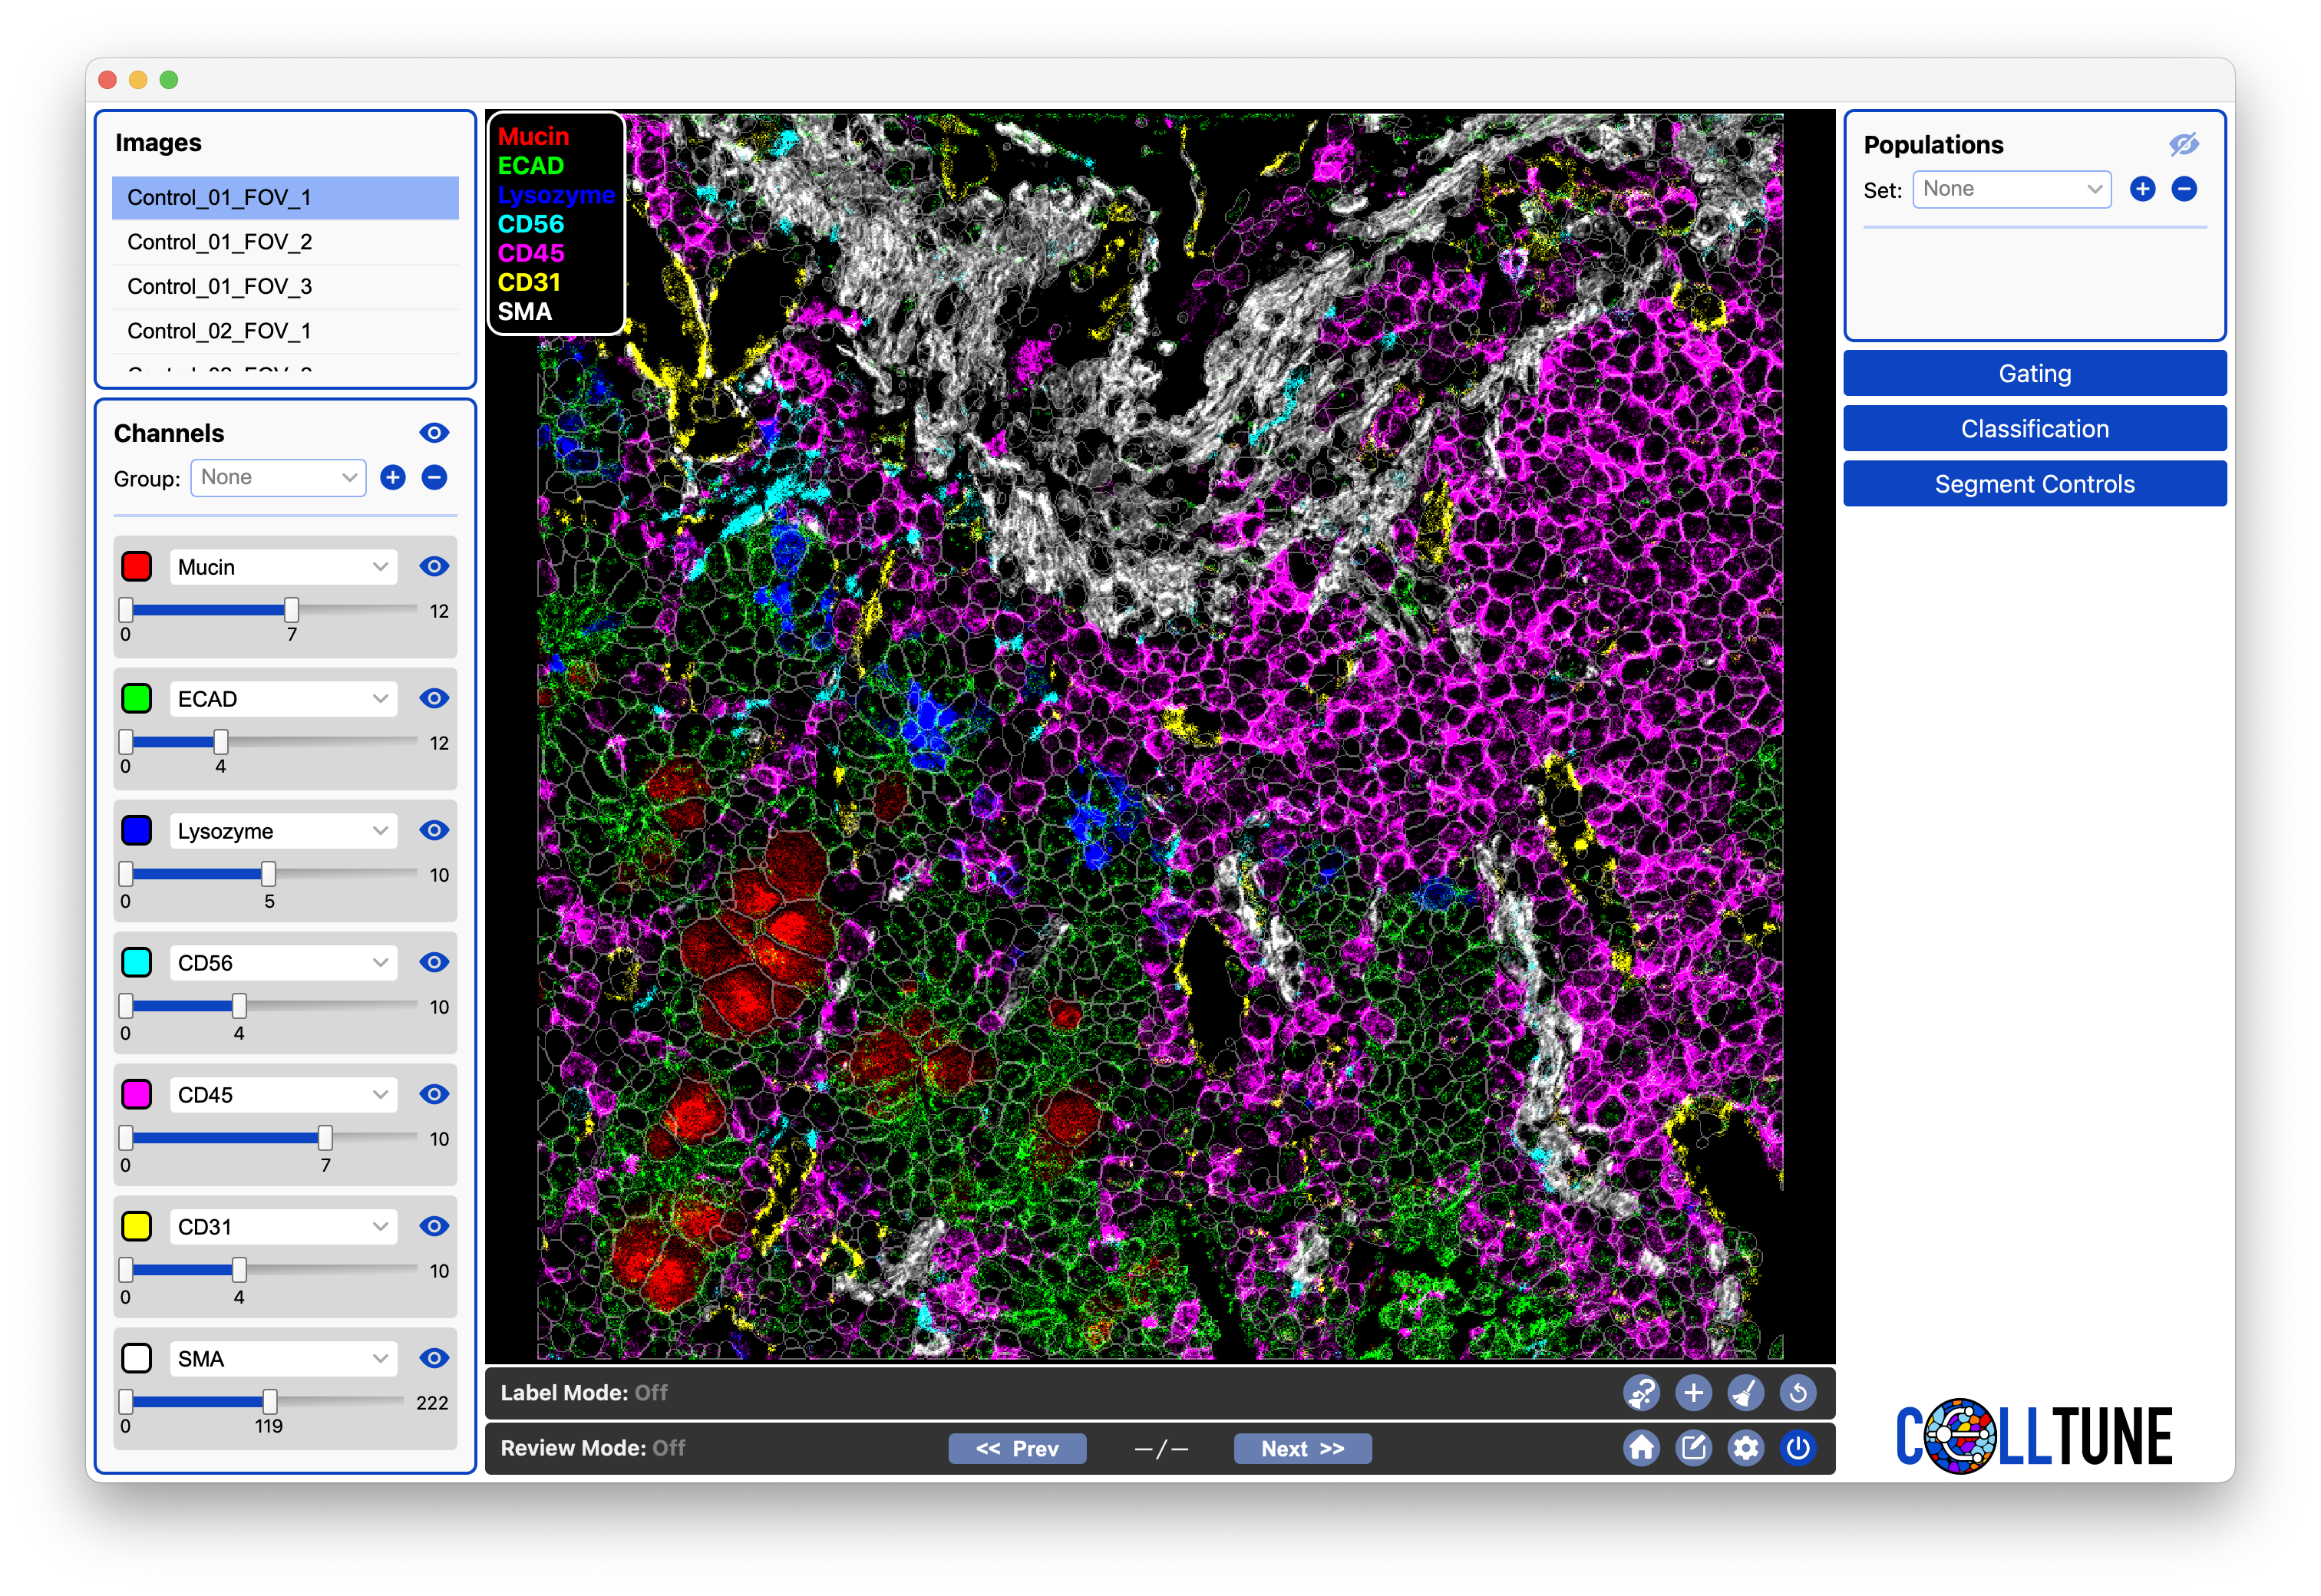
Highlights:
- Left panel: select images and channels.
- Right panel: manage populations, gating, classification, and segment controls.
- Bottom toolbars: labeling and review tools.
- Center: the image viewer, where selected channels are visualized overlayed with segmented cells.
You can zoom, pan, and select cells directly in the viewer. When hovering over cells, the cells are highlighted and dynamic legends can display information and statistics in real time.
Images Panel
The top left panel allows you to select different images from your project. You can select images by scrolling through the list and clicking on an image name.
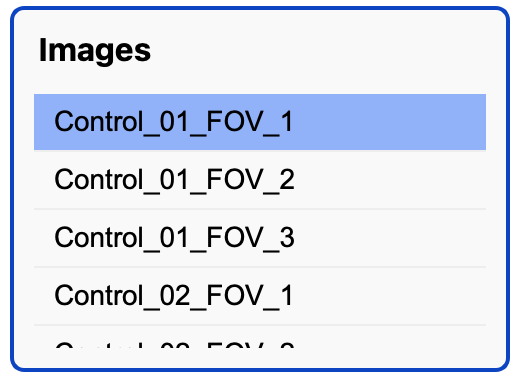
Tip: When an image is selected, you can scroll through images with the up and down arrows.
We are planning to add an option to search by image name in a future version.
Channels Panel
Below the images panel, you will find the channels panel with several channel widgets which allow you to select and adjust channels:
(By default there are 7, we are working on adding more)
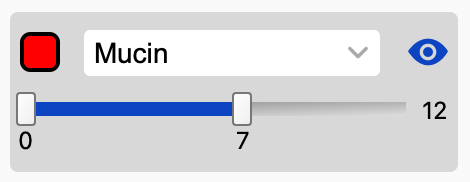
Adjust Brightness:
You can adjust channel brightness cutoffs using the sliders in each channel widget. All pixel values below the left (bottom) slider handle will be black, and all pixel values above the right (upper) slider handle will be saturated.
Tip: You can click directly on the values and edit them (press Enter after typing!). You can also edit the value on the right side to increase/decrease the slider’s range.
Select Channel:
You can select channels using the dropdown or by typing in a channel name (make sure you press Enter!)
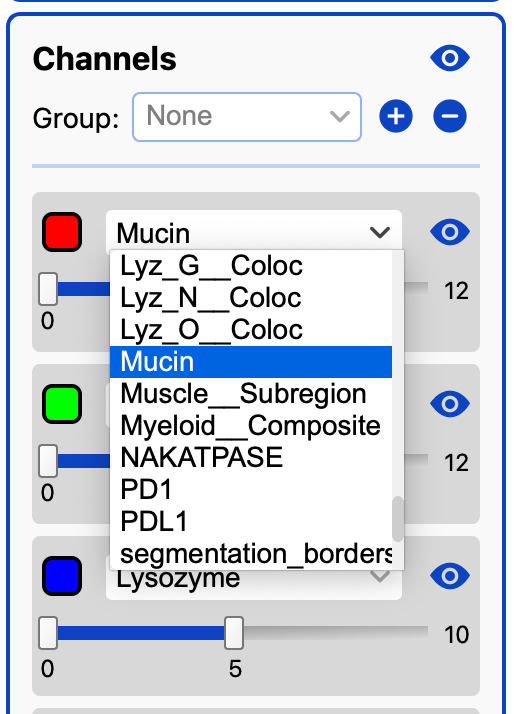
You can also use the Up/Down Arrows to change channels when you click inside the channel text box (as if you are going to type).
Note you won’t see a channel in the dropdown if it is already selected for a different channel widget.
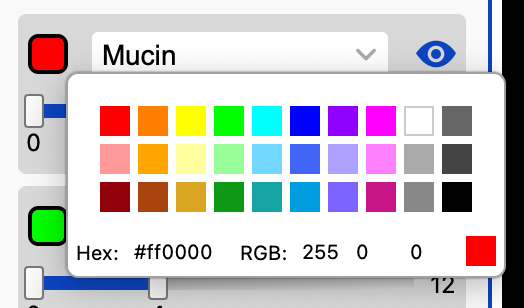
Channel Color:
To change the color of a channel, click on the colored box to the left of the channel name. This will open a color palette, where you can choose a color by clicking on one of the predefined colors, or using the hex or RGB inputs at the bottom:
Visibility:
Each channel has an eye icon which can toggle its visibility. At the top of the panel is an eye icon which toggles the visibility of all channels.
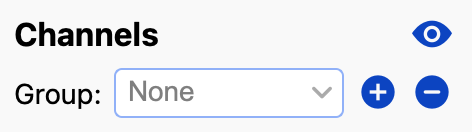
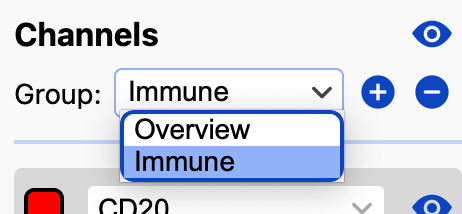
There is also a section at the top of the channel panel to select and save/delete channel groups, as discussed in the following section:
Channel Groups
Channel groups allow you to store and toggle sets of 7 channels at once. DO NOT SKIP! They are extremely useful for efficient visualization, review, and labeling. There are several tutorials with examples using them.
Anyone not using channel groups is missing out on the full CellTune experience—and for that, we shed a small, pixelated tear.
Creating a Channel Group:
- Select the channels desired in the channel widgets.
- Type the name in the
Groupbox. - Click on the
+button next to the name to save.
Deleting a Channel Group:
- Click on the
-button on the right of the selected channel group.
For example, we usually start by saving an Overview channel group which includes CD45, SMA, CD31, ECAD/Keratin, and 2-3 others depending on the tissue in order to differentiate between the major cell type groups (Immune, Stroma, Vasculature, Epithelial, Tumor, etc.).
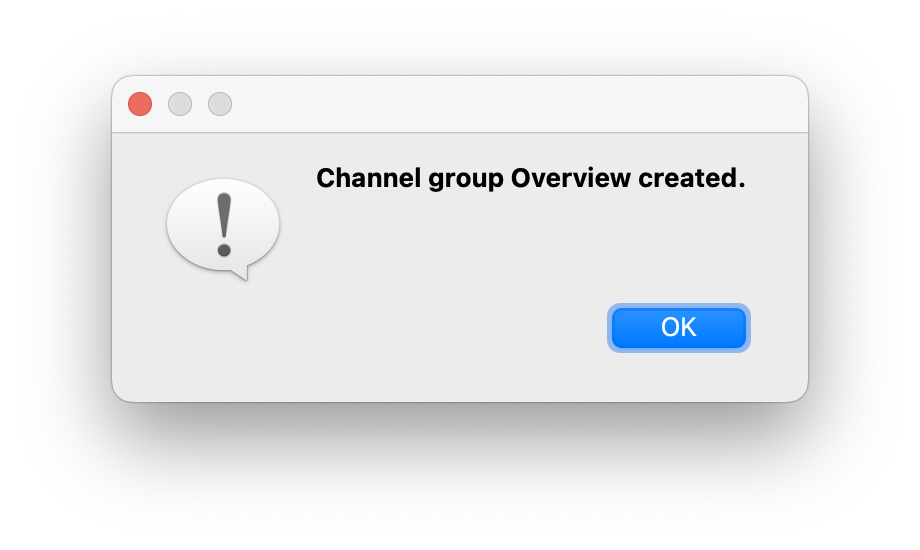
When the channel group is created you will see the following message:
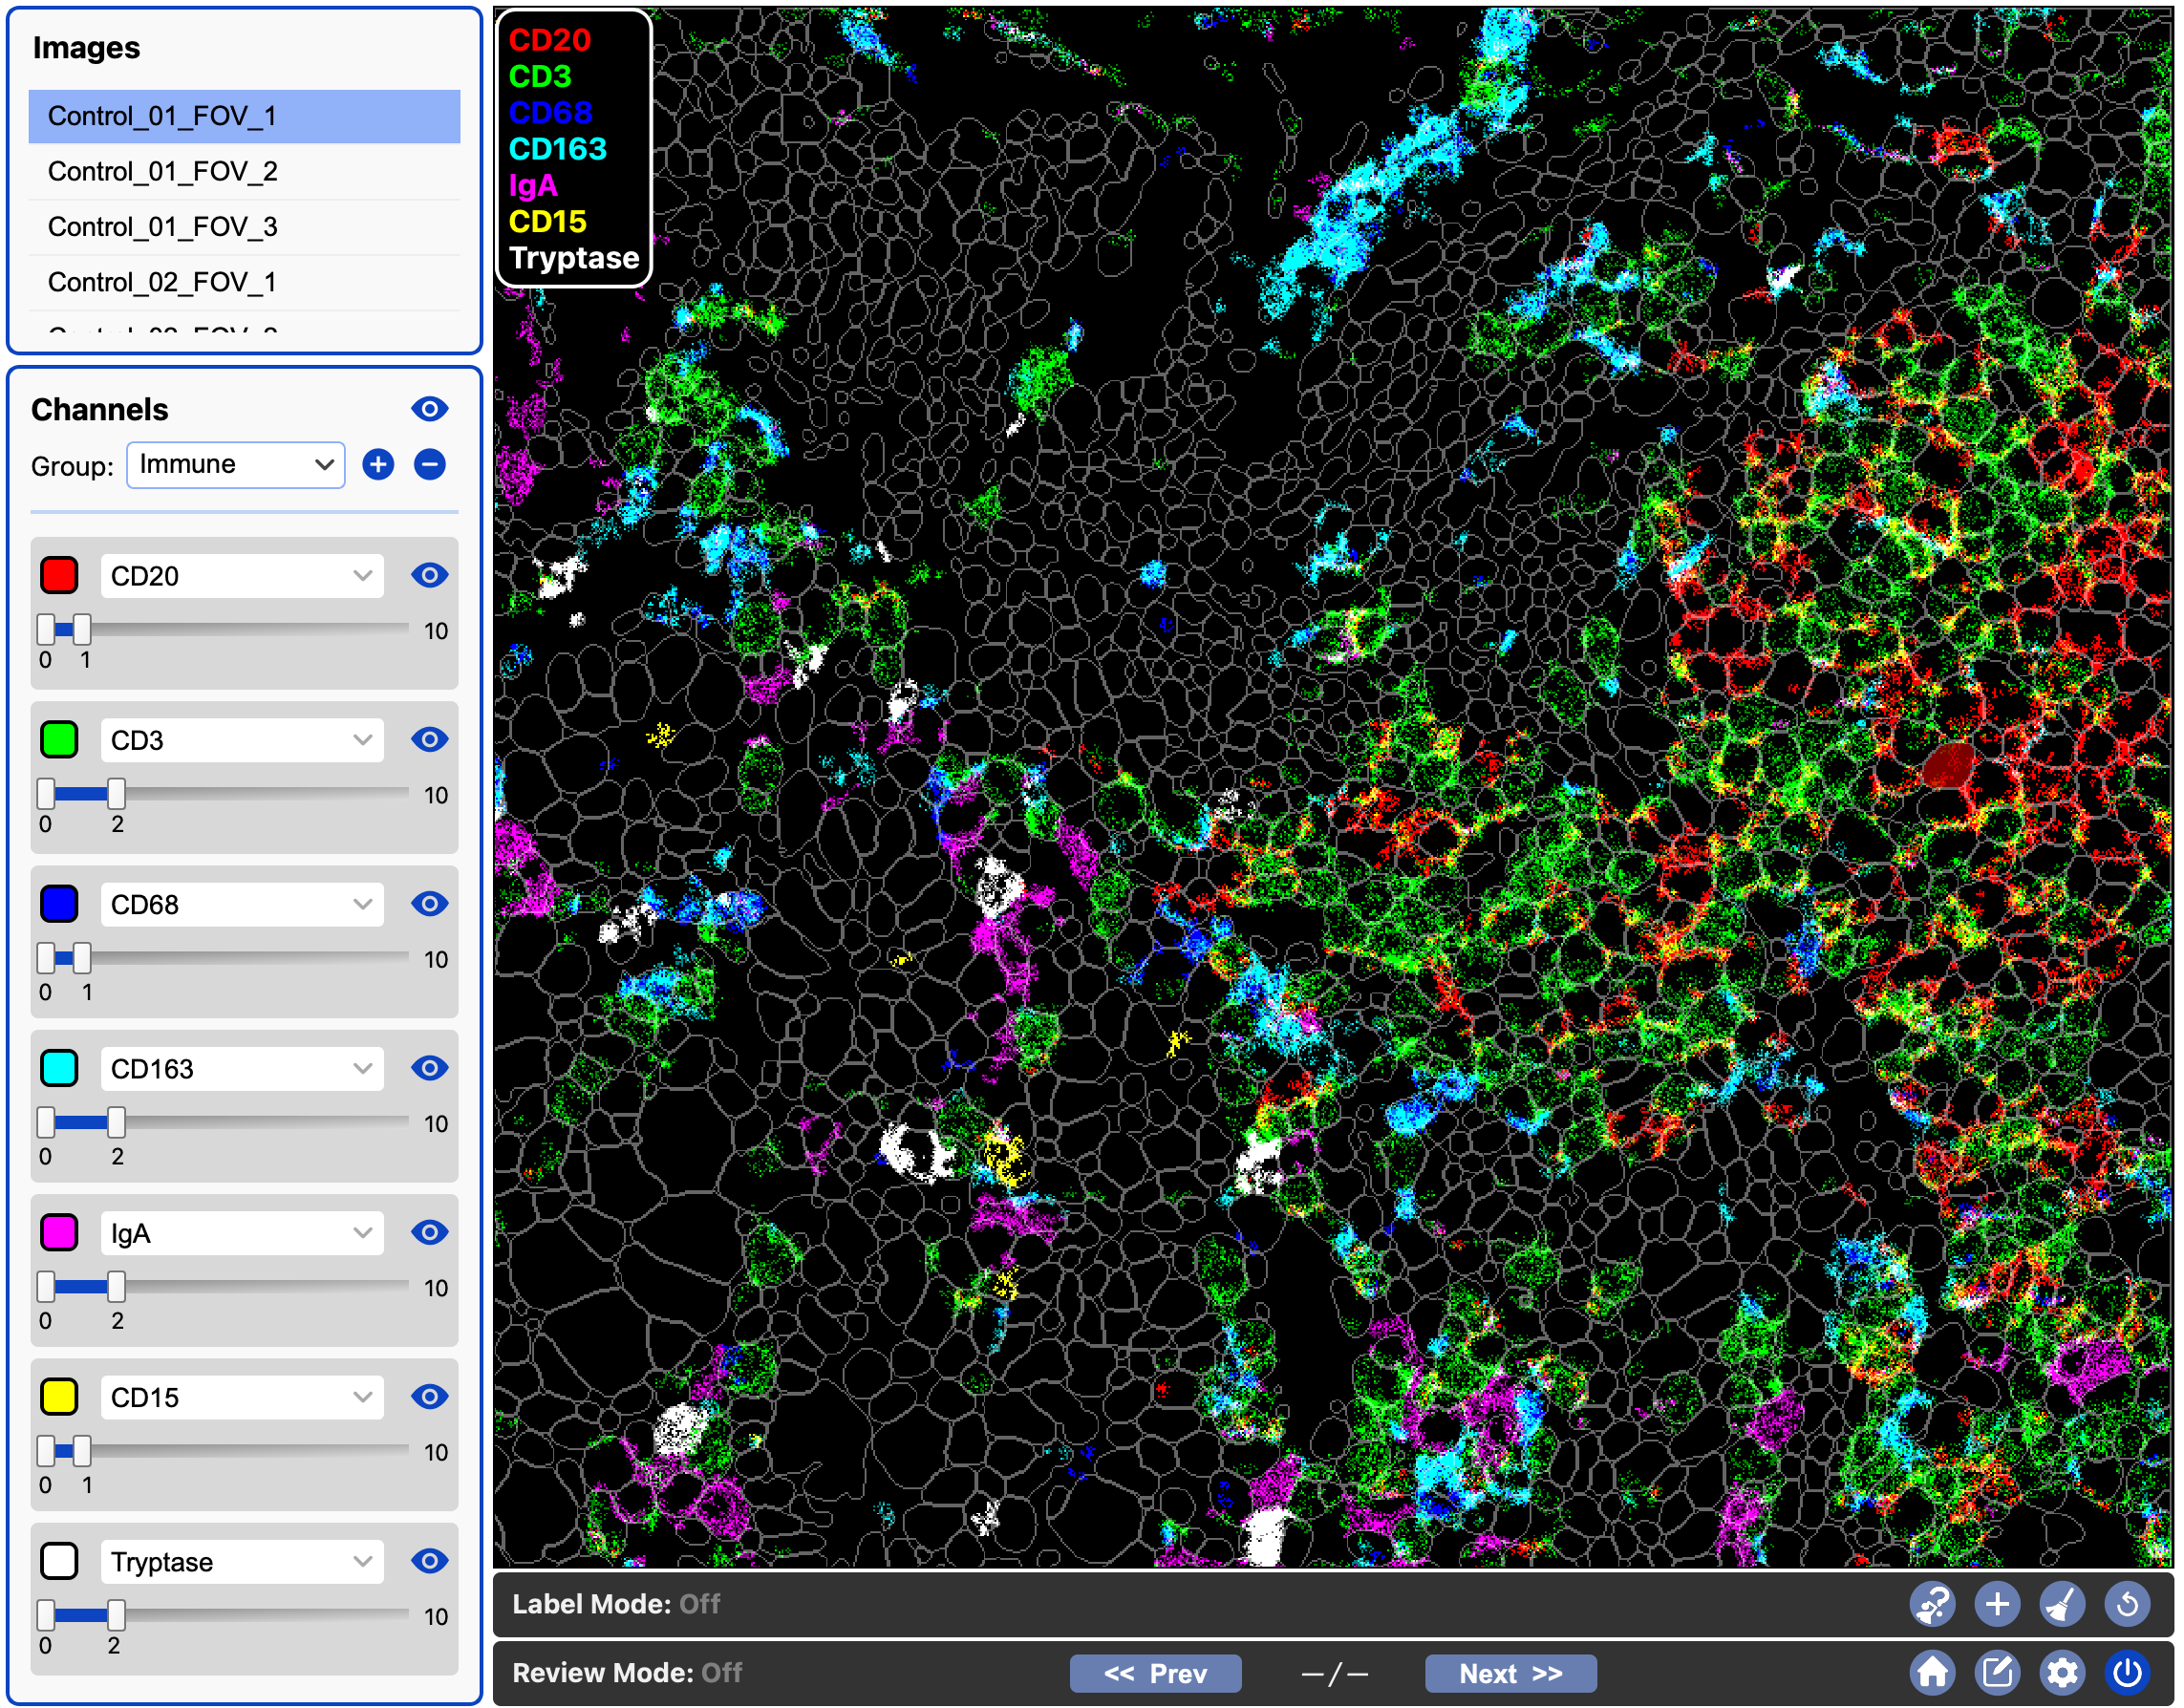
We also make a general Immune channel group, including CD20, CD3, CD68, CD15, IgA, etc to differentiate between the major immune groups (B cell, T cell, Macrophage, Neutrophil, Plasma, etc.):
We also make groups for Tcell (CD8, CD4, FOXP3), Myeloid (CD14, CD68, CD163, CD206, Calprotectin), and more.
You can select a channel group using the dropdown, or more efficiently using the keyboard shortcut Cmd + Up/Down (mac).
Populations Panel
The Populations Panel is found at the top right of the interface.
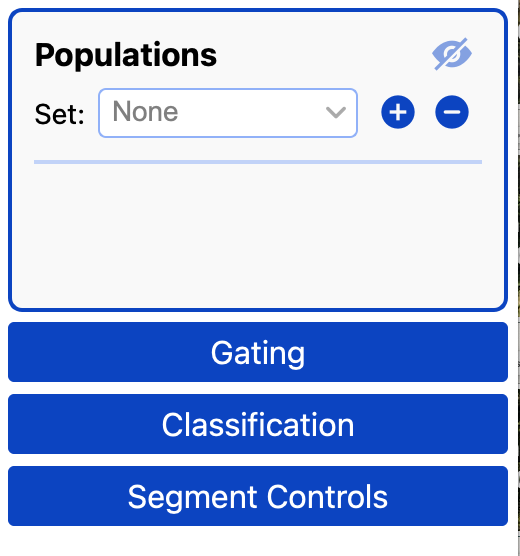
- The eye icon at the top toggles the visibility of all populations.
- To the right of the word ‘Set’ is a dropdown box you can use to select population sets.
- You can type in the box and press the
+button to create an empty population with a given name, or just press the+button and a default name will be given. - You can delete the selected population set with the
-button.
Populations can be created through labeling, gating, classification predictions, etc. Or they can be imported.
When populations are available you will see their names, colors, and a visibility icon for toggling the population on/off. 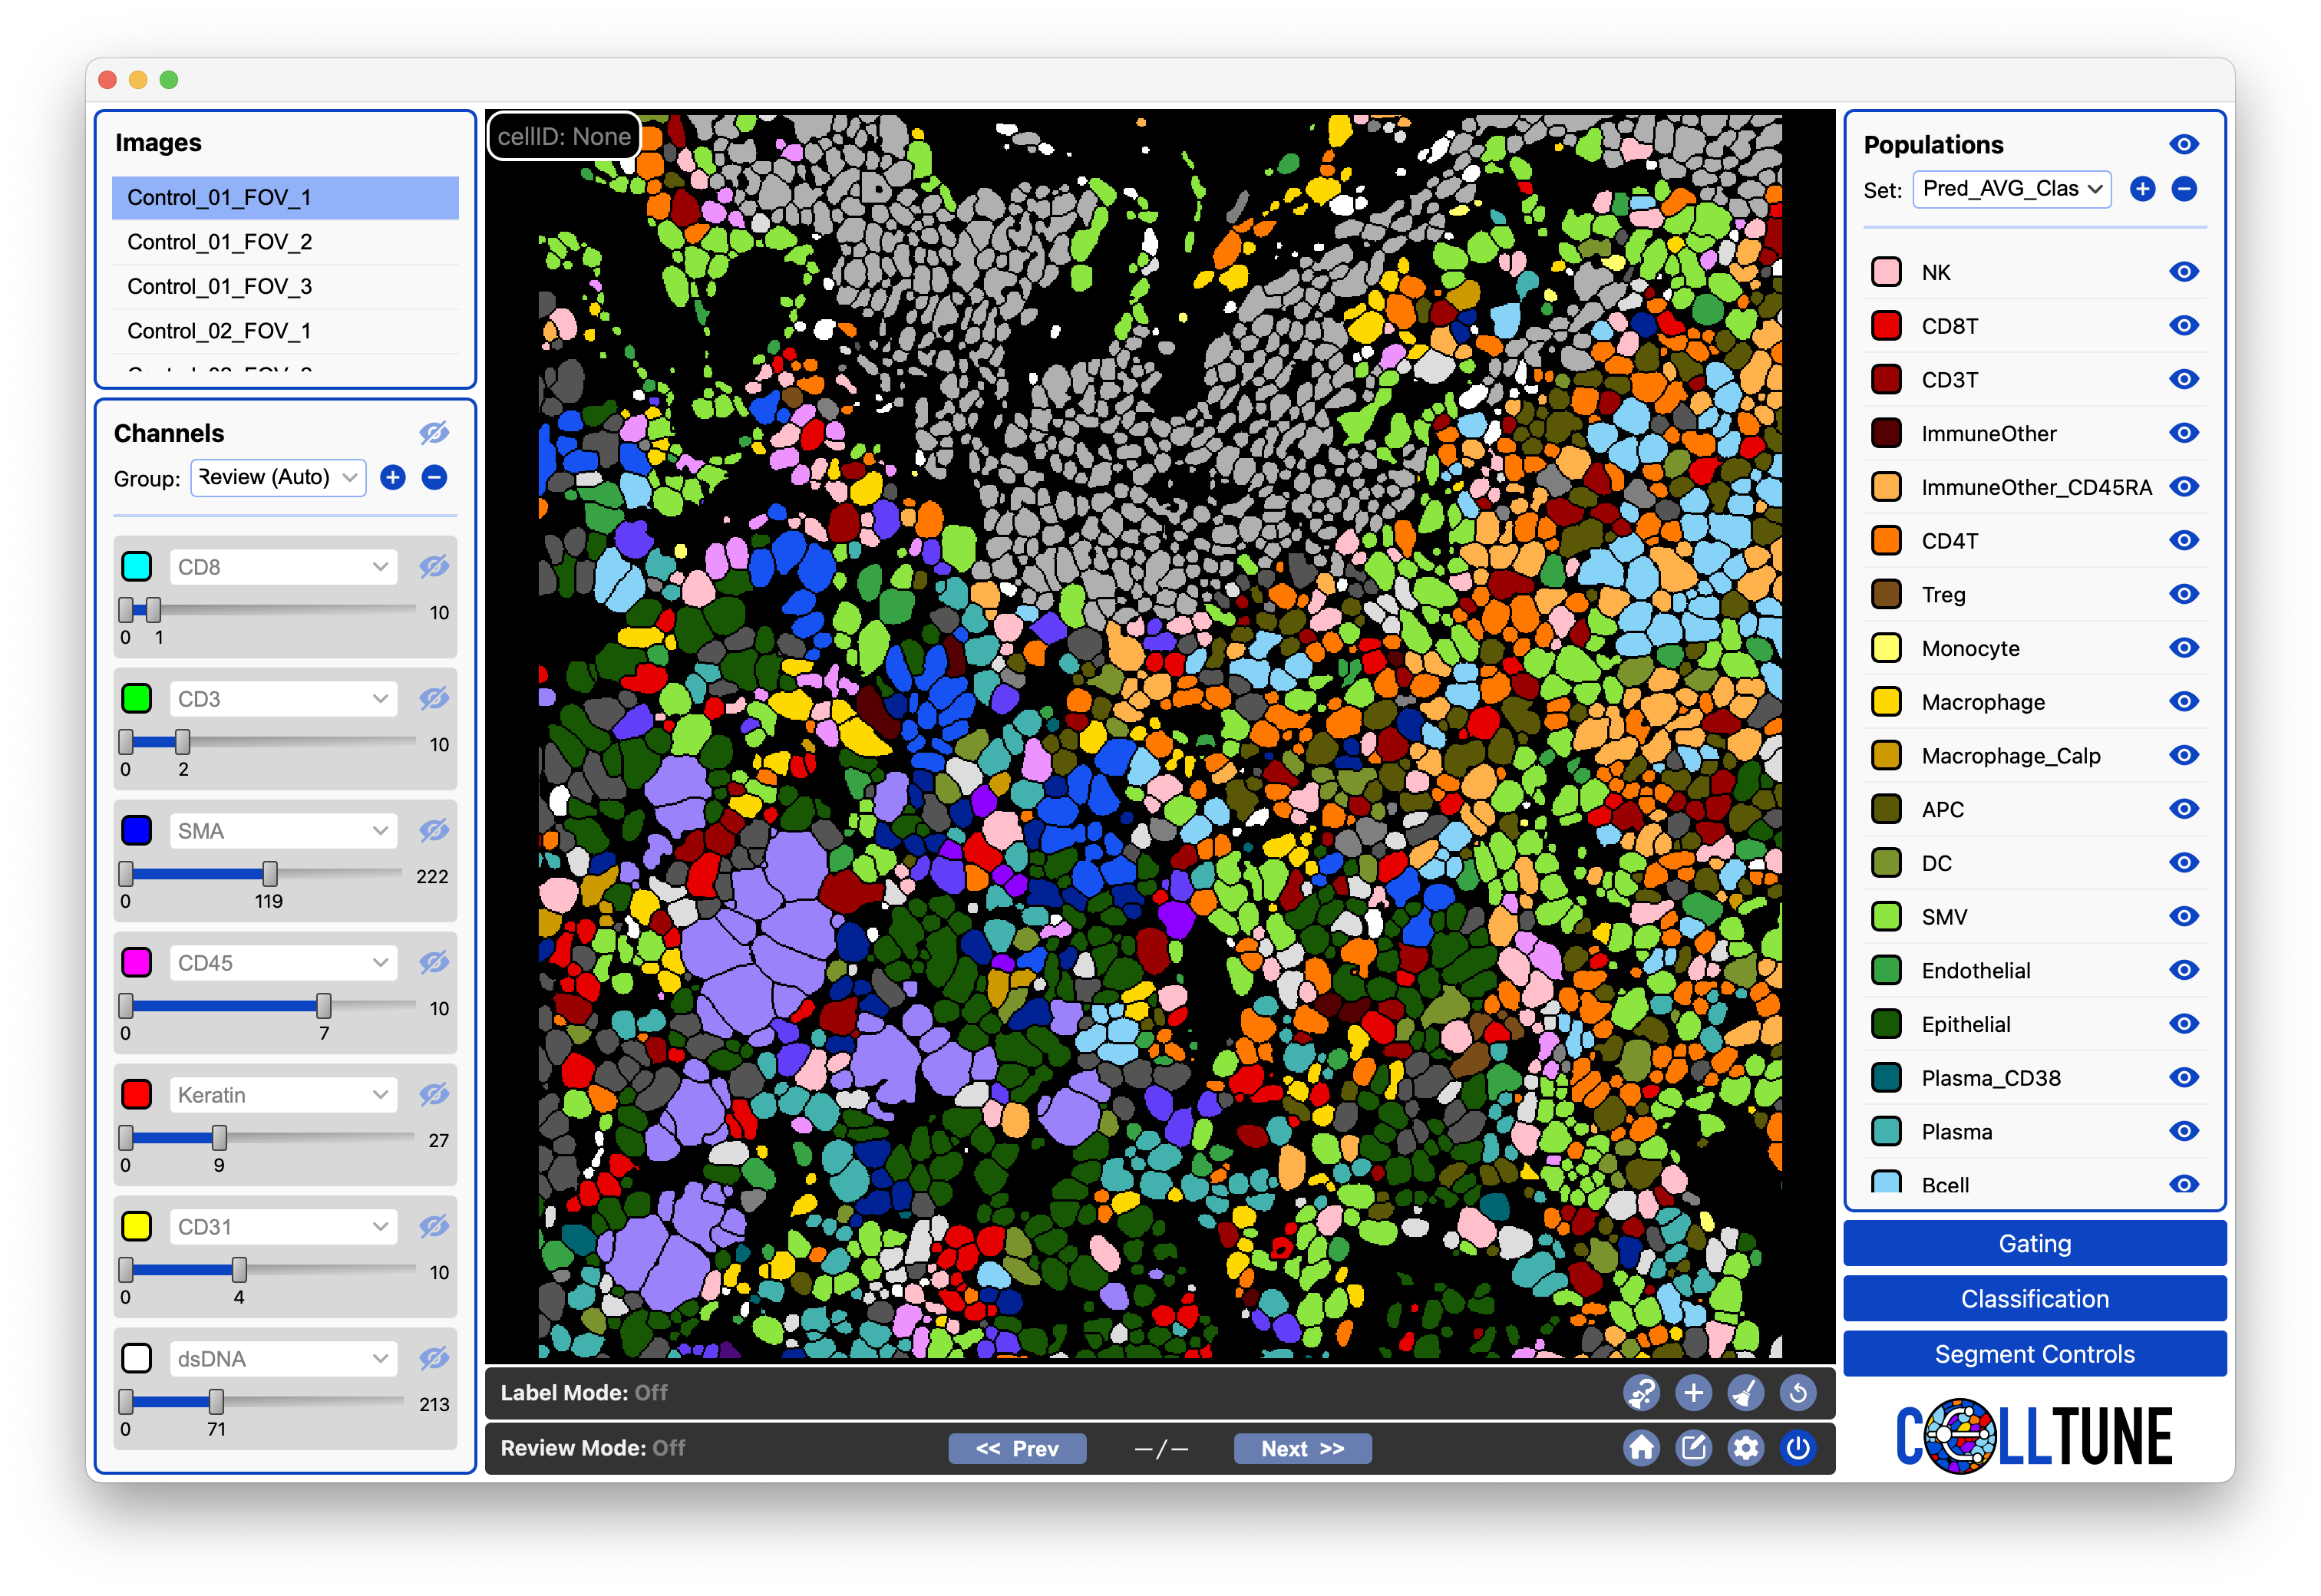
Similar to the channels widgets, to change the color of a population, click on the colored box to the left of the population name.
For more info, see the Populations Documentation.
Gating Panel
The Gating Panel is just below the populations. Here you can set thresholds on numerical features to filter and group cell populations.
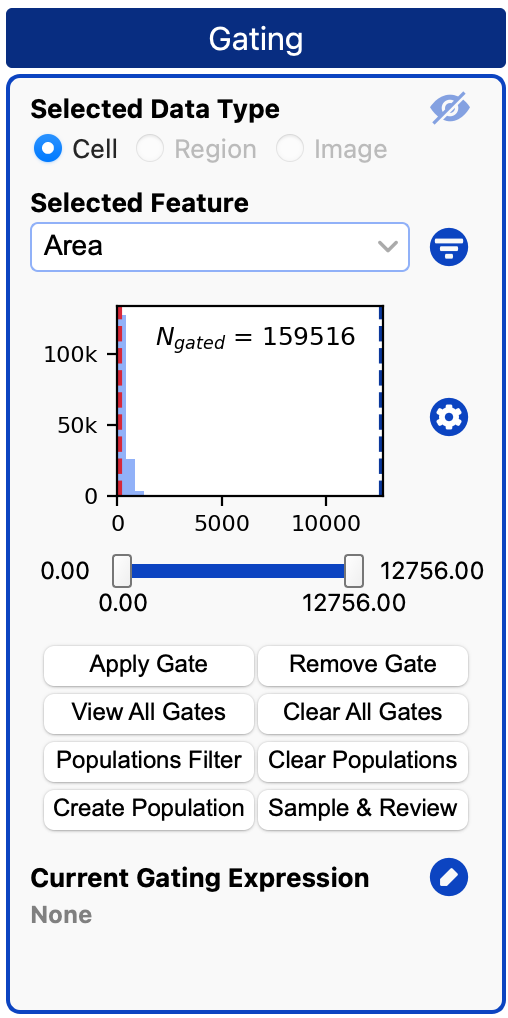
For more info, see the Gating Documentation.
Classification Panel
The Classification Panel is just below gating. Here you can create classifiers, add labels to them, train them, plot the confusion matrix for their models, and sample cells for labeling.

For more info, see the Classification Documentation.
Advanced Viewer Settings
You can adjust color blending and segmentation fill settings from the menu:

Which will open the following dialog:
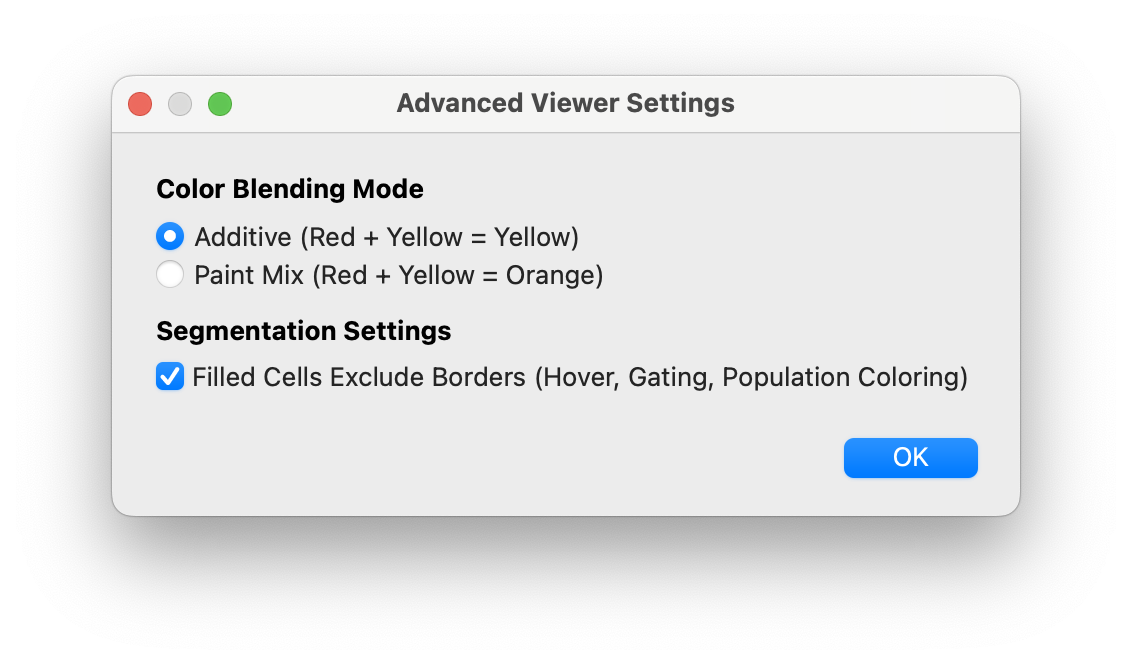
Color blending determines how two overlapping colors will appear when they mix. See the tutorial for an example.
Segmentation fill settings determine whether or not the cell borders are included when highlighting a cell. See the tutorial for an example.
Next see Legends & Hovering, Segment Controls, or Toolbars.