Review & Curation
What is a CellTune Review?
Review is the step where you go through a curated list of cells—one by one—and confirm, correct, or assign their cell type labels. It is designed to help you quickly produce high-quality labeled data for training or refinement.
A CellTune Review has three key components:
-
A cell sample
This is the specific list of cells you will inspect during the review.
Examples: “CD8T candidates,” “cluster 7 cells,” “classifier predictions.”
-
A viewing population set
This determines what you see while reviewing—e.g., the population set containing classifier predictions or landmarks that provide context. It controls visibility, colors, and optional auto-channel selection.
-
An output population set
This is where the labels you assign during review are saved. It can be the same as the viewing population set (e.g., reviewing and updating “Landmarks”), or a separate one (e.g., reviewing classifier predictions and writing results into “Labels_Classifier_1”).
In many cases, the viewing and output population sets are the same—for example, when reviewing a landmark population set you are refining the population set without writing to any additional set.
In short: Review = go through selected cells → inspect them with the right context → assign or correct their labels → write the labels to an output population set along the way.
Creating a Review
A review can be generated in several different ways:
- From the Classification Panel:
Sample & Review - From the Gating Panel:
Sample & Review - From the Populations Menu:
Review Populations Set - From the Import Menu:
Import Cell Sample
This will open a dialog for giving the cell sample a name and selecting the viewing and output population sets, as well as selecting whether to randomize the sample order and/or use automated channel selection:
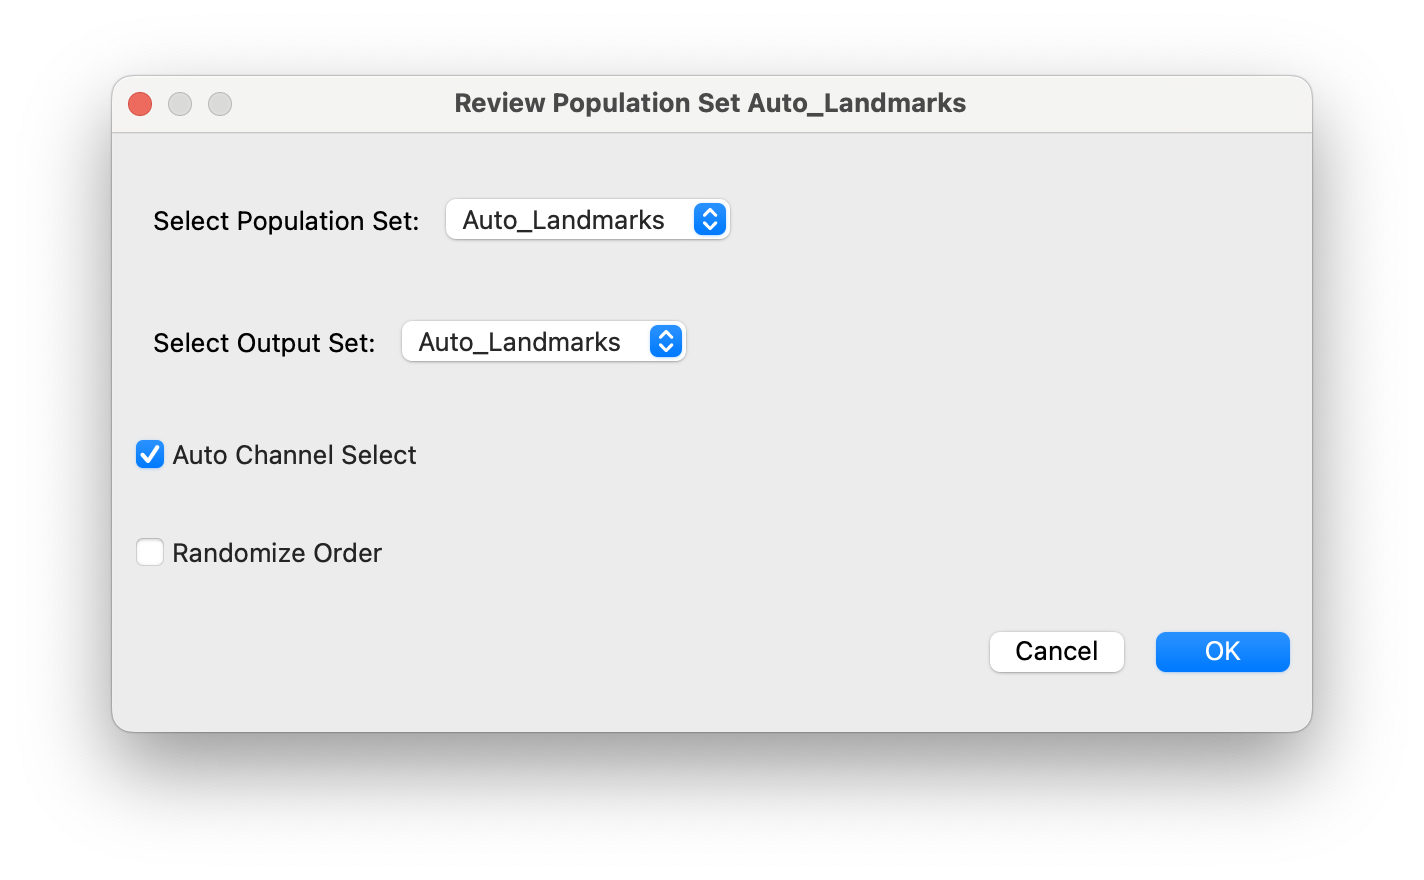
Here we want to review the auto landmarks populations and correct them in place. (No need to write to an additional external population set).
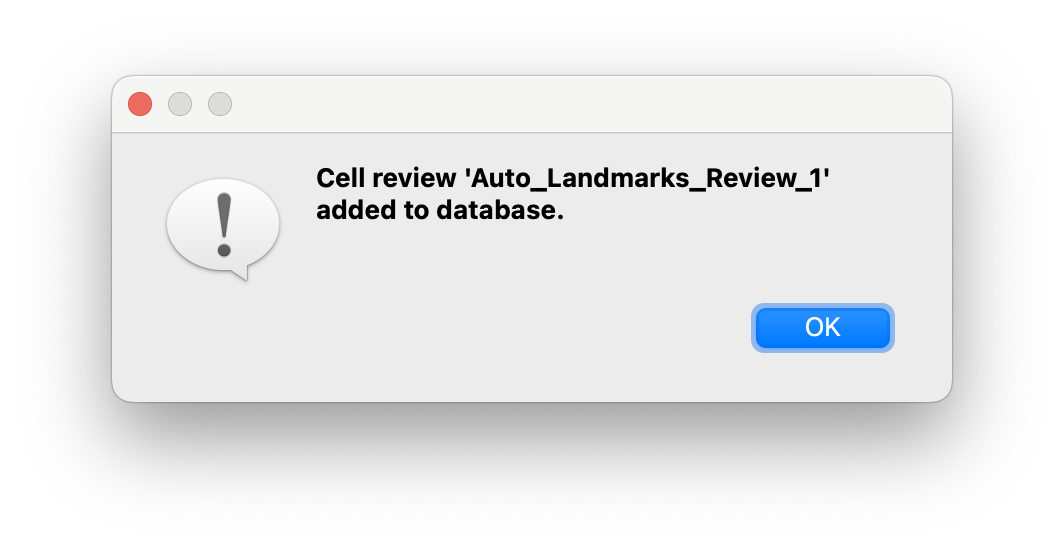
When a Review is created you will see a message:
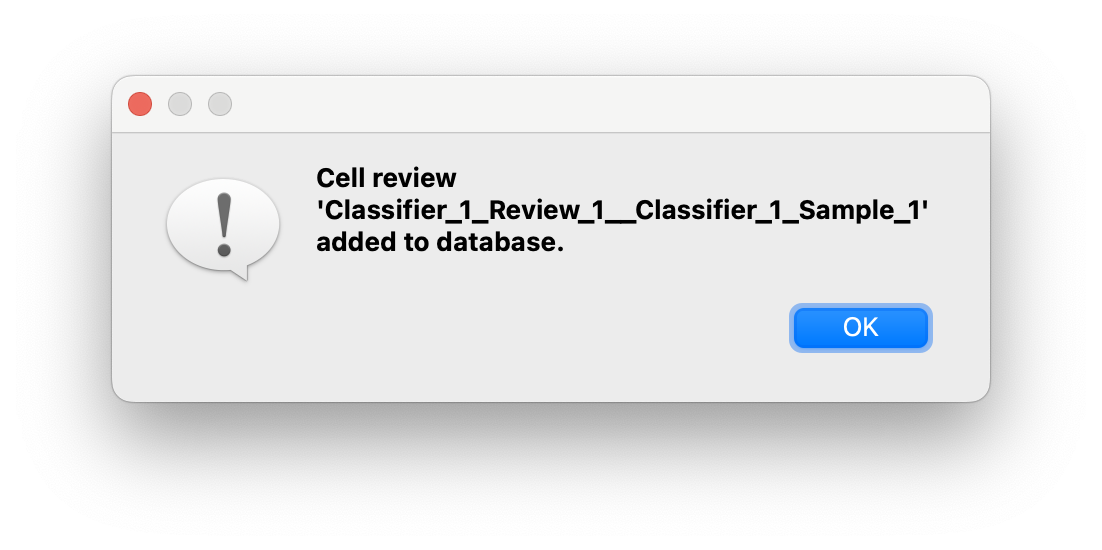
Note: In the case of generating a sample and review from classification panel, there will not be a dialog since these parameters are already set: the viewing population set =
Pred_ALL_{CLASSIFIER_NAME}and the output set isLabels_{CLASSIFIER_NAME}.
A review’s name gives information about its source and the sample it was generated from.
Enter/Exit Review
Press the Enter/Exit Review button on the right side of the toolbar  :
:
If there is only one review in the project it will load automatically.
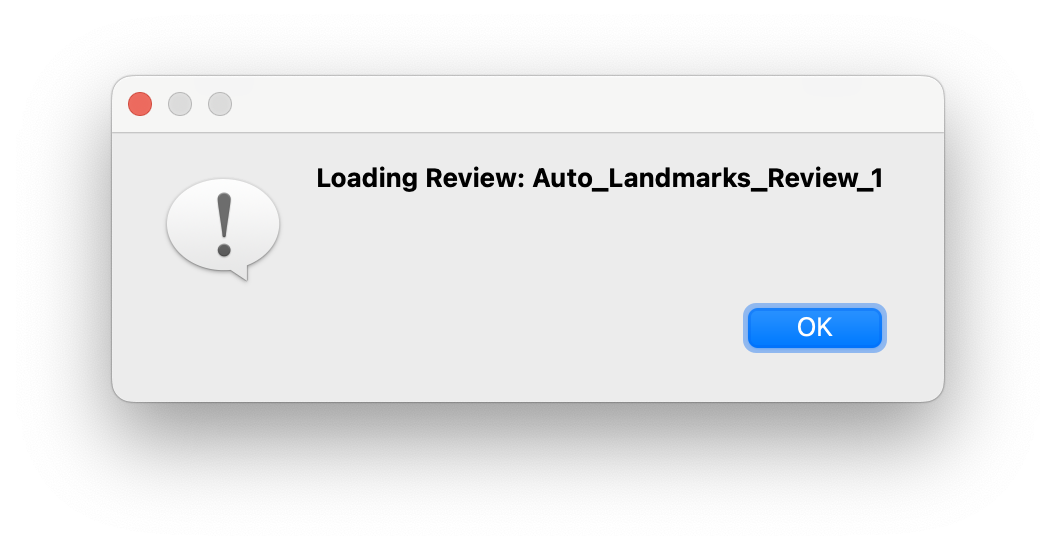
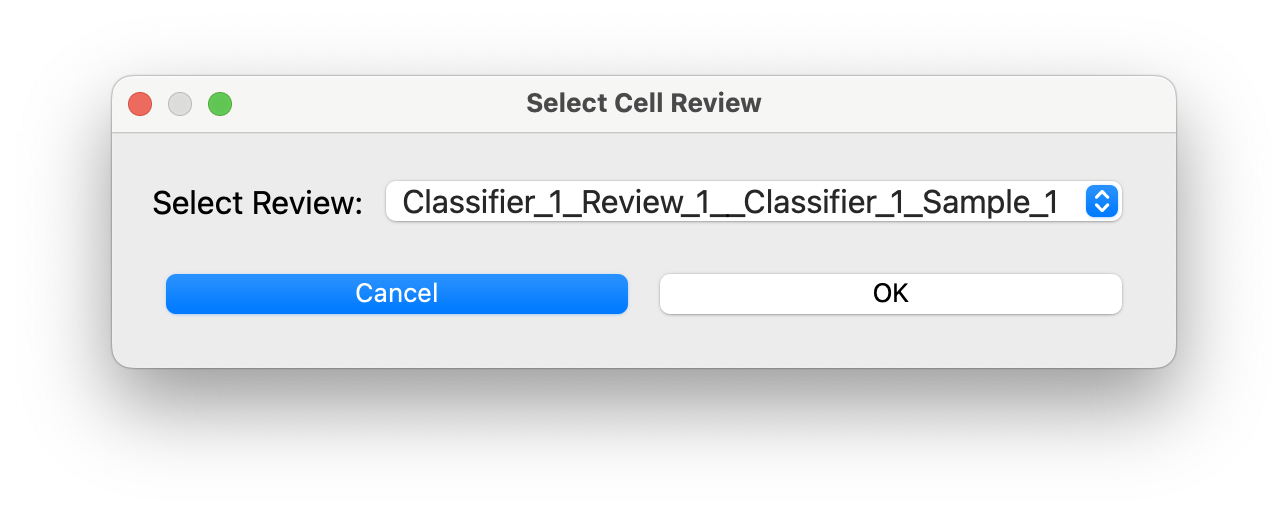
If there are multiple reviews in the project you will be prompted to select one:
Examples
Reviewing Landmarks
Here we are reviewing the Automated Landmarks. The cell currently being reviewed was landmarked as a CD8T. We can skip to the next cell if it is correct. Or remove the label if it is incorrect.

We can also give it another label and/or label any other cells we see (it will add them to the landmarks.)
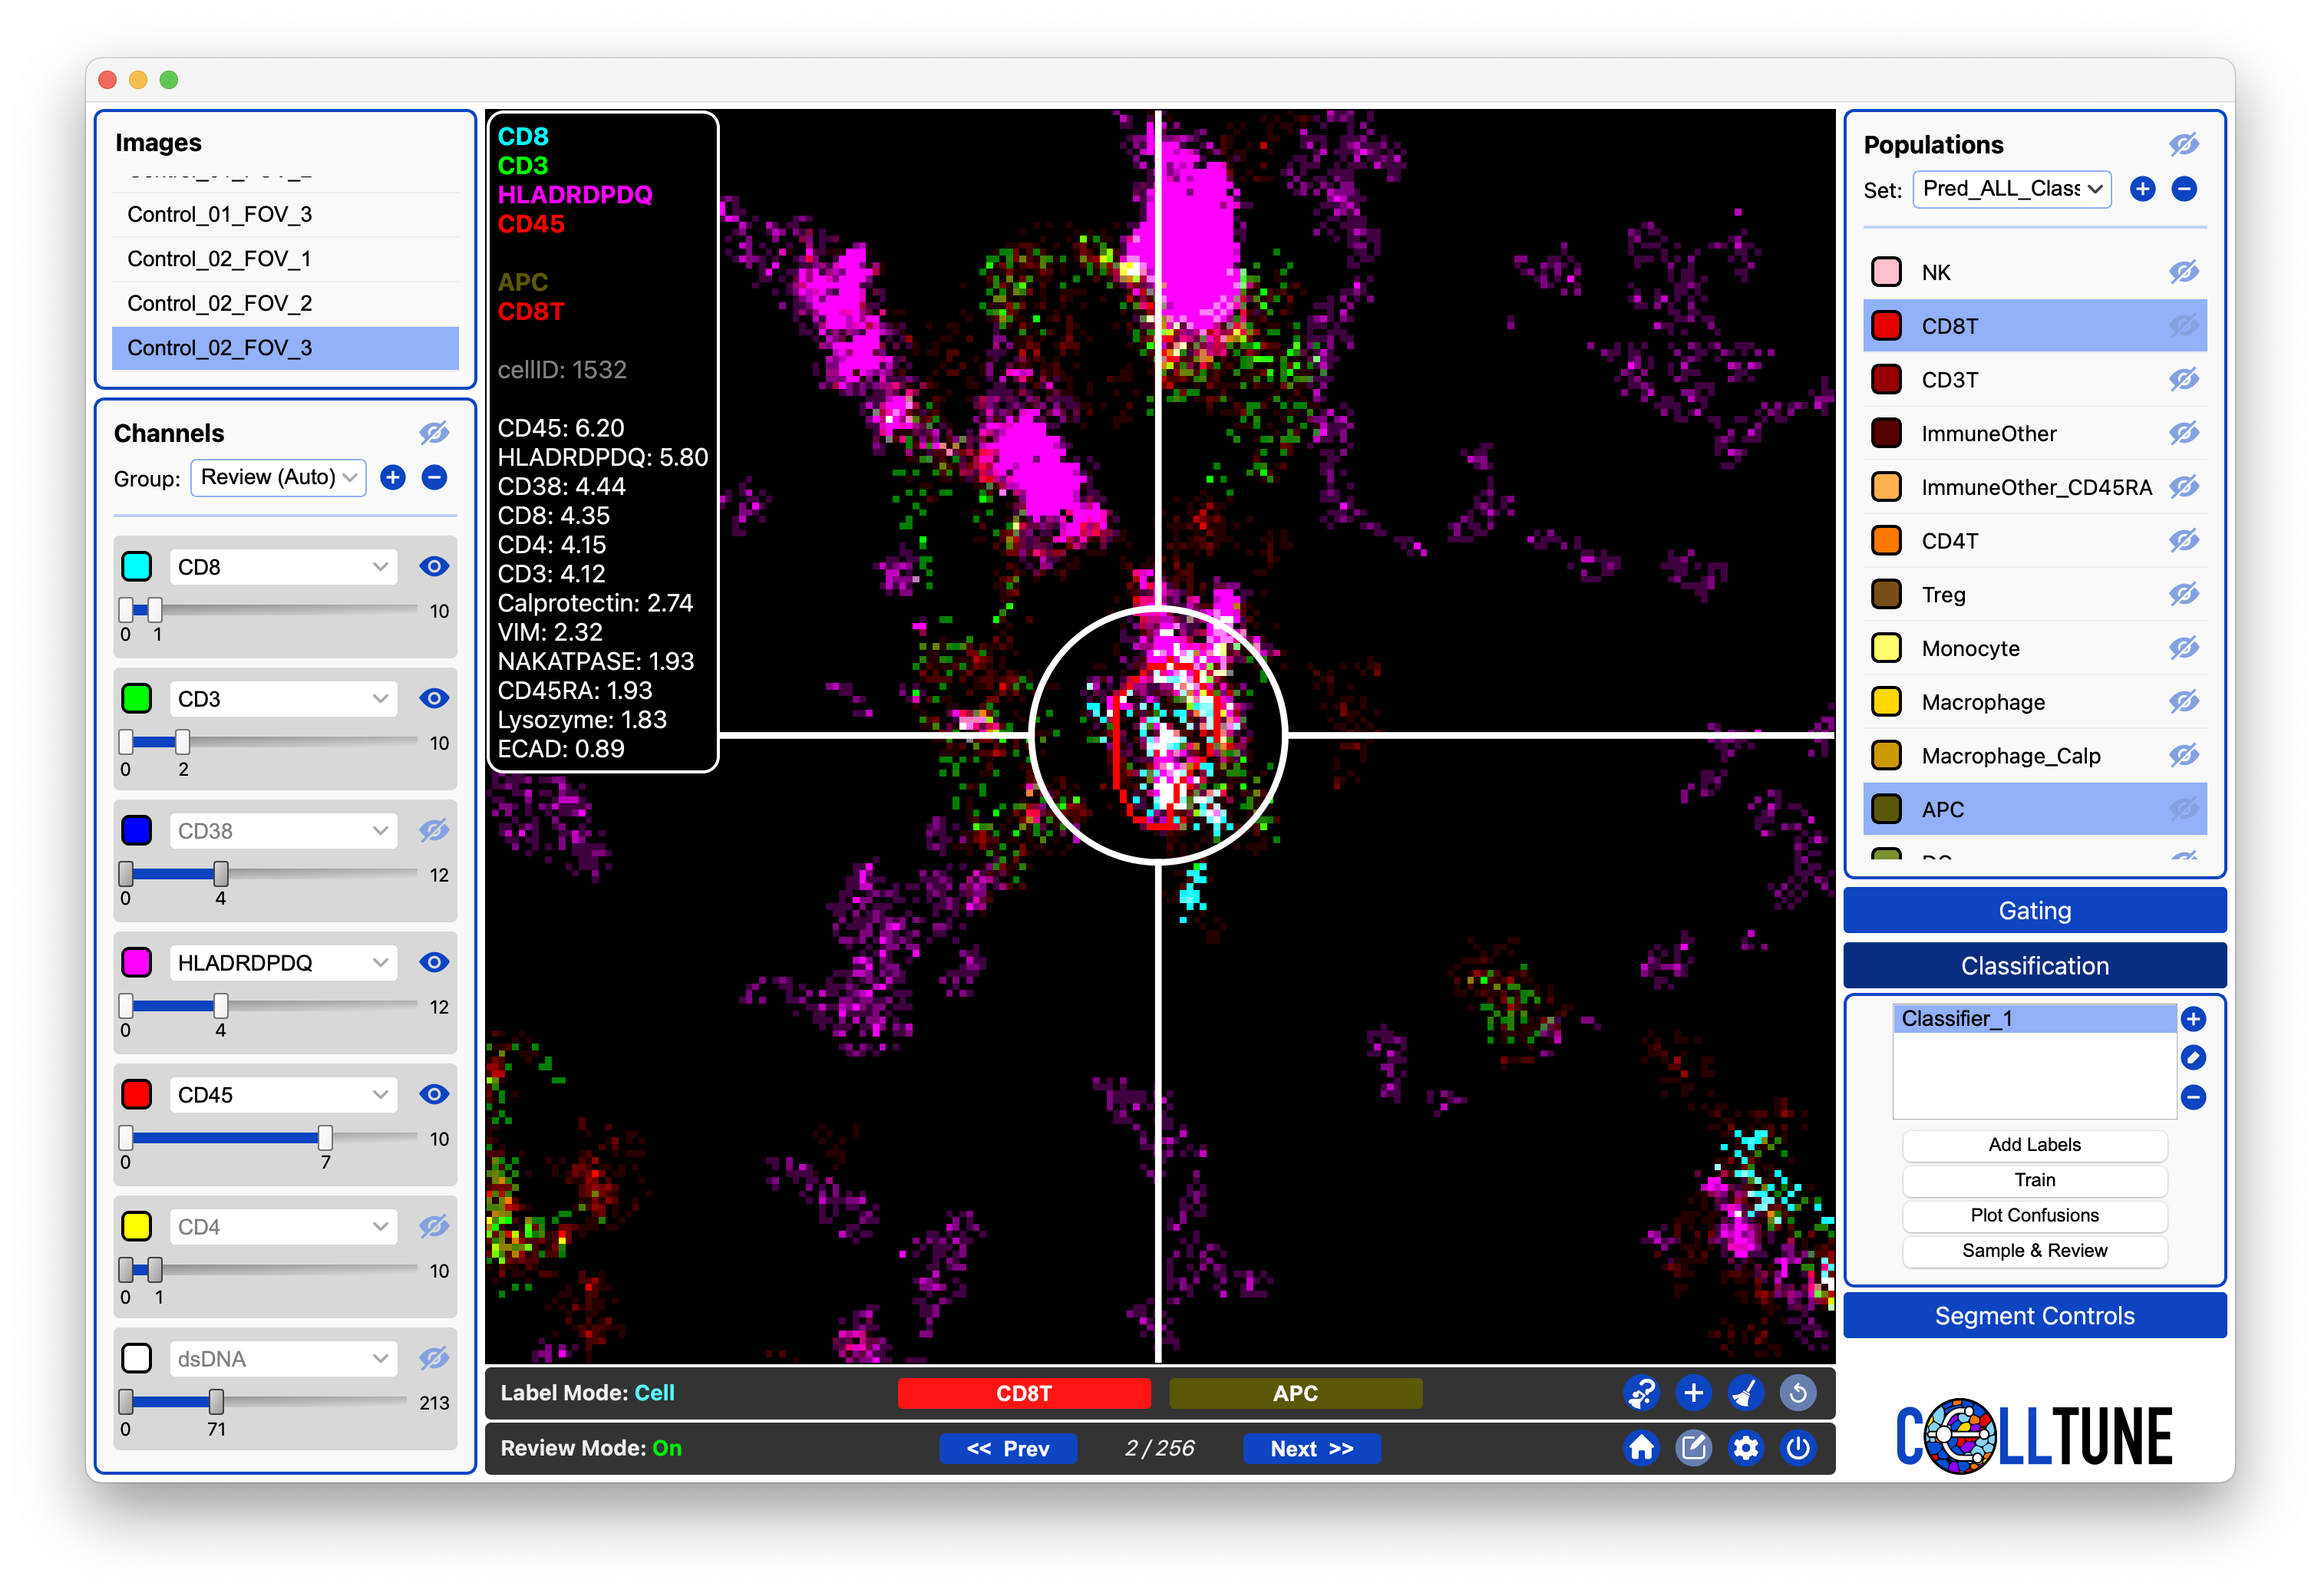
Reviewing a Sample of Cells from the Classifier
Here we are reviewing the cells we sampled from the classifier. For these cells each of the two models had a different prediction. The current cell was predicted to be CD8T by one model and APC by another.
We can click on one of the population buttons in the review toolbar to assign the cell to a population. Or label the cell by clicking in the Populations Panel.
- We recommend just skipping to the next cell if it is ambiguous
- You can also give the ambiguous label through the review toolbar if desired to come back to it later.
- Removing both labels and continuing effectively does the same thing as skipping the cell.
Note: there are many additional video examples of reviewing cells in the tutorials.
Navigating the Review
The Review Toolbar has buttons to navigate to the Next or Previous cell. We often prefer to use the keyboard shortcut Cmd + Left/Right
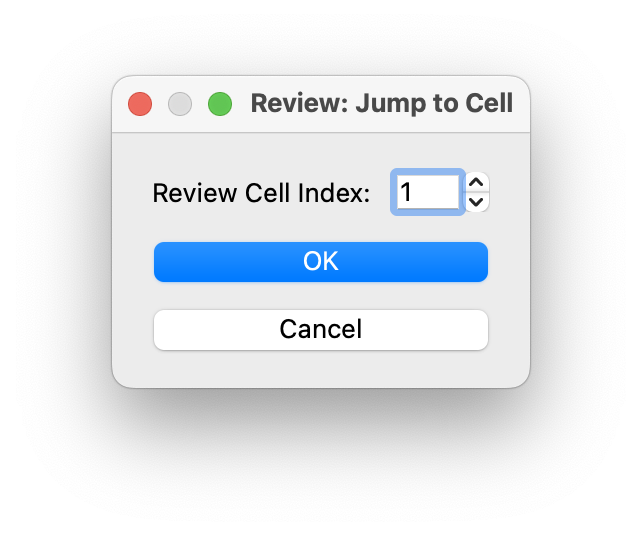
If you RClick on the review cell index you can jump to another cell in the review by index.

Auto Channel Selection
In Review Mode, as you navigate to the Next Cell, the channels can be automatically changed to those most associated with the celltype labels the cell has. This is useful because if we are looking at a cell which has predictions for Bcell and CD4T, it will automatically put on CD20, CD4, and CD3.
Up to 3 channels per celltype are stored in the population set’s info - this data comes from the CellTypeTable and can be updated and imported at any time. See Populations Info Documentation.
There are 7 channels, 1 is for the nuclear channel and is set to visibility off by default. 3 channels for each population label (up to 2 labels). If a population has less than 3 channels associated with it, the remaining channels are filled with the most highly expressed proteins on the cell.
This setting can be turned on/off through the settings icon in the review toolbar. 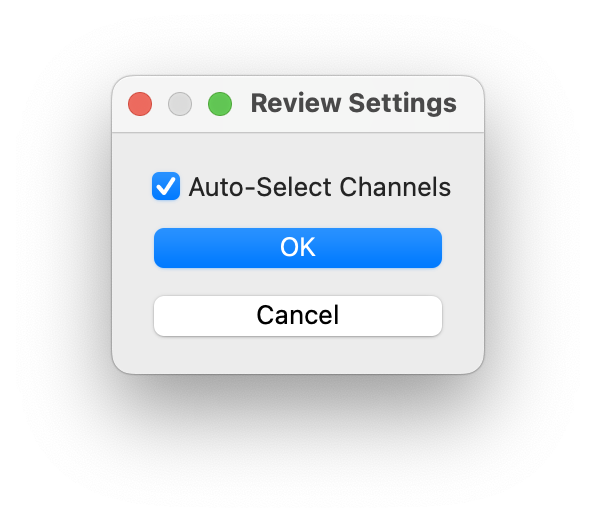
Review Mode Index Colors
During Review Mode, each cell you navigate to is shown with an index (e.g., 3 in 3/2000). The color of this index provides an immediate indication of how the label in the output population set relates to what you are currently viewing.

Color Meaning
- Green — The label in the output population set matches the label/prediction being viewed.
- Red — The label in the output population set does not match the label/prediction being viewed.
- White — The cell has no label in the output population set, or you are currently viewing the output set itself.
(When the viewing set and output set are the same, all cells appear white because there is no comparison being made.)
Why mismatches occur
Label mismatches typically arise when:
- A label is manually changed outside Review Mode (e.g., editing the output population set directly),
- The viewing population set shows predictions from a classifier while the output set contains edited or corrected labels, or
- The viewing and output sets represent different stages of labeling (e.g., gating candidates vs. curated labels).
These indicators help highlight disagreements between predicted and assigned labels, making it easy to spot inconsistencies that may need further review.